Homemade Kirimochi, Dried Mochi
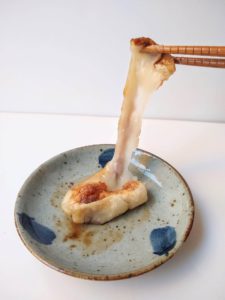
When cooked, this dried mochi transforms into an addicting chewy and stretchy snack. This simple microwave kirimochi recipe is easy enough for anyone to make at home.
What is Kirimochi?
Kirimochi, or 切り餅 in Japanese, is a type of dried mochi cut into rectangles. It is typically bought during the Japanese new year. Drying the mochi allows it to stay fresh at room temperature for many months. Many types of mochi, including kirimochi, are made by pounding cooked glutinous rice into a stretchy paste. Kirimochi is used in many different ways: grilled, in soups, or even as mochi waffles (aka moffles). There are many different Japanese cooking gadgets that are created to cut the kirimochi into fun shapes, such as thin sheets or animal cutouts.
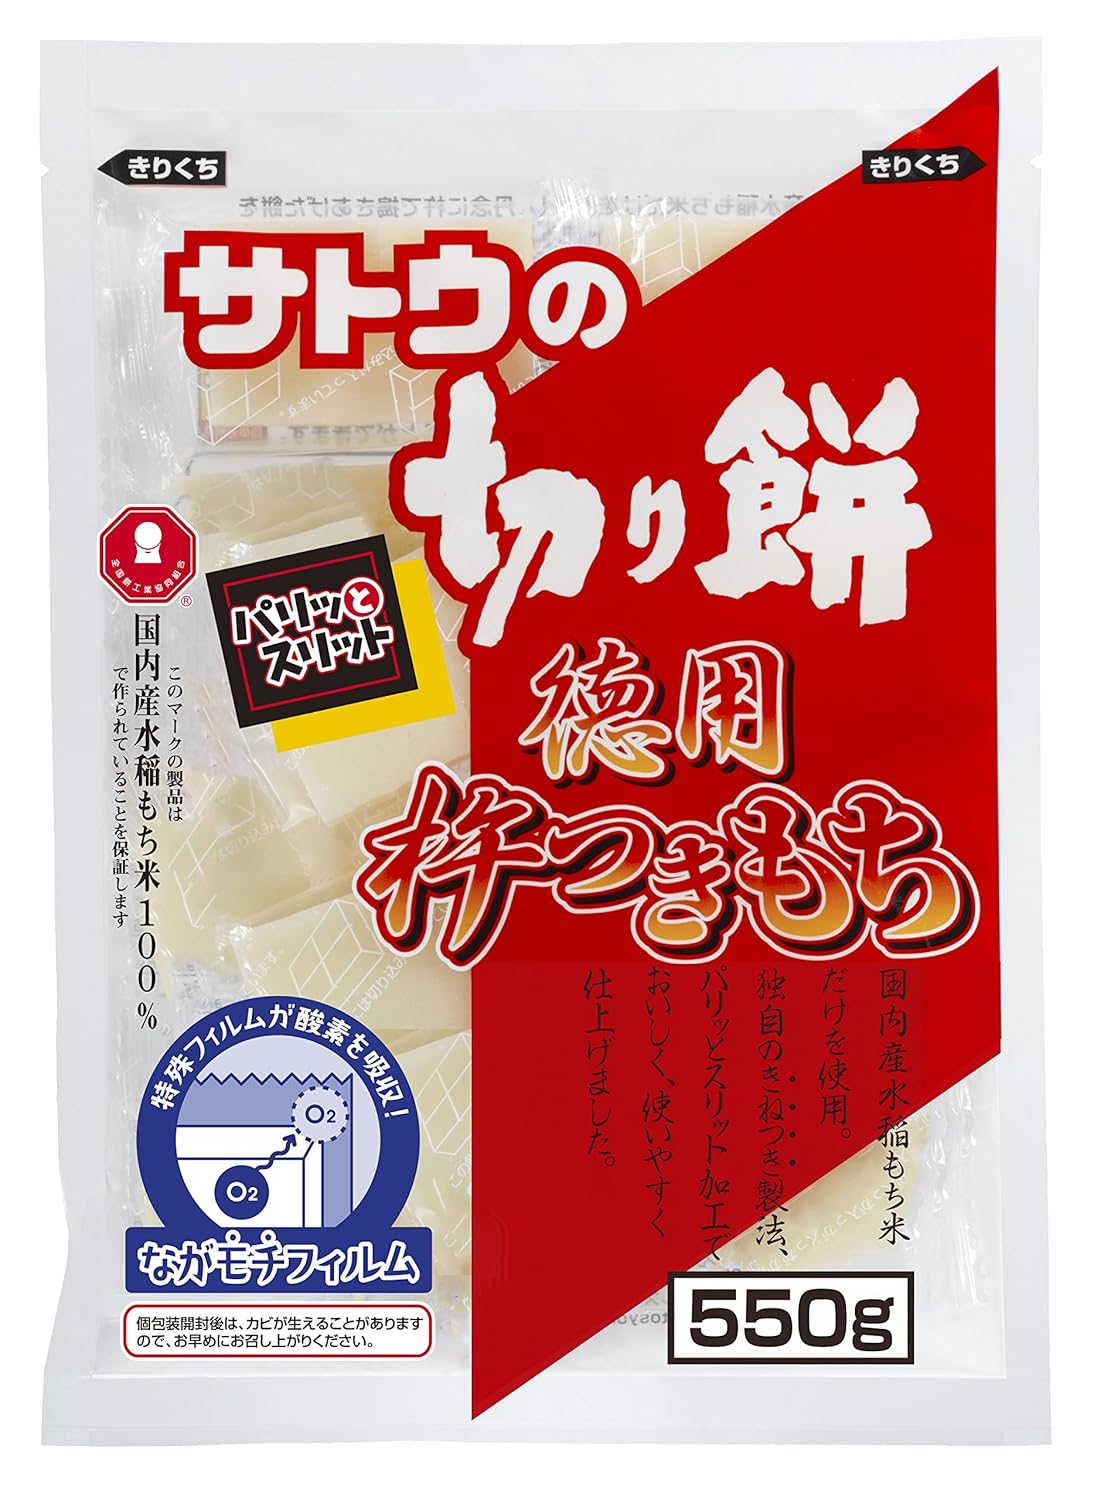
An Example of Prepackaged Kirimochi (From Amazon, Not Affiliated)
Making your kirimochi at home is very simple if you are unable to purchase the commercial kind. This kirimochi recipe can mimic the same chewy and mozzarella-like texture that is so appetizing. However, kirimochi made at home cannot completely dry out like the prepackaged kind. So, the homemade version needs to be frozen if you want to save the kirimochi for later.
How Can You Use this Kirimochi Recipe?
Check out this detailed post to learn about the many different preparations you can use for this plain mochi recipe!
Check out these other mochi recipes:
Homemade Kirimochi
Ingredients
- 300 g glutinous rice flour
- 300 mL water
Instructions
- Measure out the glutinous rice flour in a bowl.
- Add in the water and whisk until completely combined
- Cover the bowl with clingwrap or a large plate and microwave for one minute.
- Use a spatula or rice paddle to quickly knead the mixture together. Note 1
- Cover the bowl and microwave for another minute
- Knead the dough again for one or two minutes until it becomes translucent and stretchy. Note 2
- Pour the mochi dough into any rectangular container or plastic bag and flatten the top down.
- Lightly cover the container and refrigerate it for one or two hours to let it harden slightly
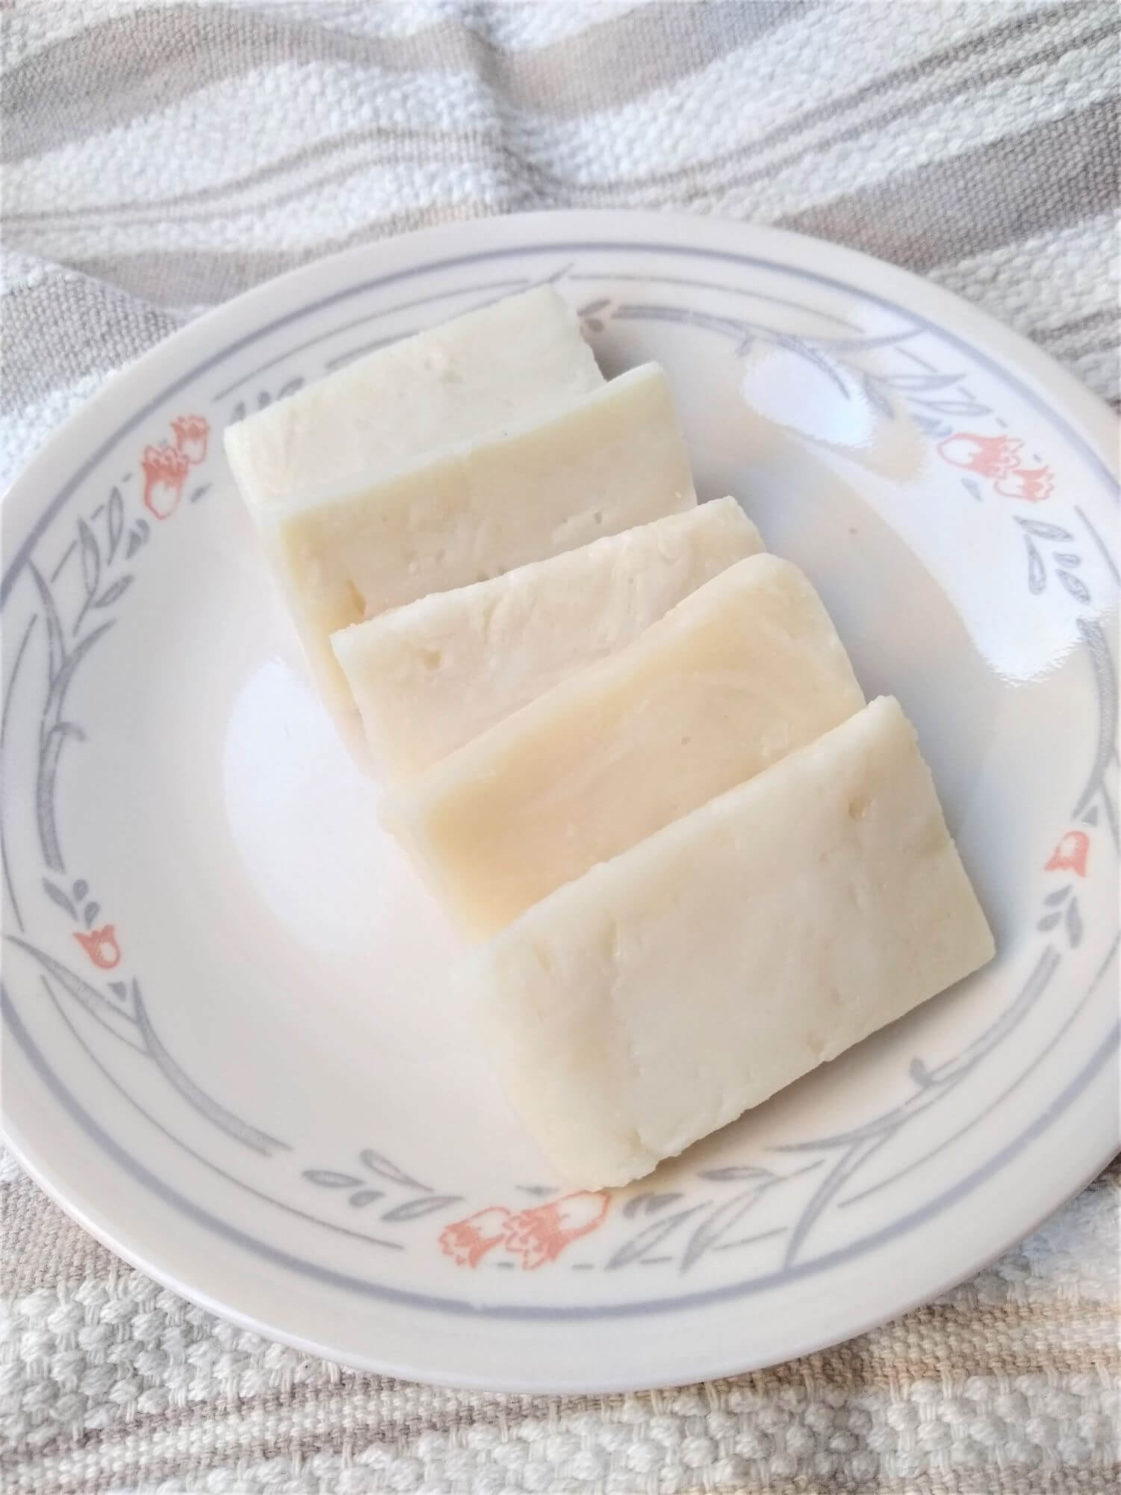
- Take the mochi out of the container and cut the mochi into rectangles of your desired size. Note 3
- Put the cut mochi into a container with some room in between. If the container is not large enough, you can add pieces of parchment paper to stack the mochi on top of each other.
- Lightly cover the mochi and refrigerate for another 1-2 days to let the mochi harden. Then the mochi is ready to be eaten or frozen for later use
Notes
- The mixture can be pretty thick, so using something stiff like a rice paddle can be helpful.
- If the dough is not yet stretchy, microwave it again for 30 seconds to a minute.
- If your mochi is still a little bit sticky, you can either refrigerate it longer or oil your cutting knife to make the job easier.
How to Make this Kirimochi Recipe
Make the Mochi Dough
The mochi making process is simplified dramatically by using glutinous rice flour. This way, the recipe turns into a simple microwave mochi recipe. However, the traditional kirimochi recipes cook glutinous rice, which is then mashed into a sticky consistency.
Start by mixing the water and glutinous rice flour in a microwavable bowl until it forms a paste. Note: the mochi paste will be very thick. I like to use a stiff utensil like a rice cooker paddle to help bring the mochi dough together.
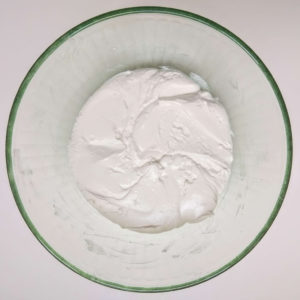
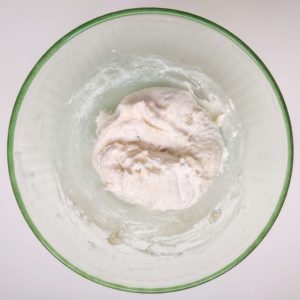
Then, cover the bowl with cling wrap or a large plate and microwave for a minute. Knead the dough to incorporate the uncooked parts. The dough will be quite stiff.
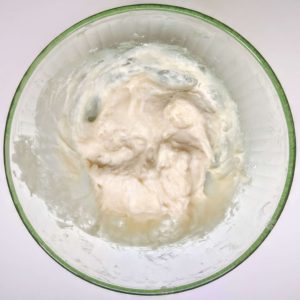
Cover and microwave the dough for another minute. Then, knead the mochi dough until it becomes smooth and stretchy. It should be much easier to knead now. If there are still bits of uncooked dough, microwave the dough again for up to another minute. (You do not want to microwave the dough too long, or else it will become too stiff and dry to work with.)
Cut the Mochi
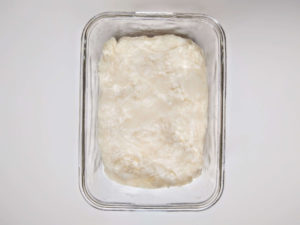
Transfer the cooked mochi dough into a rectangular container. Make sure it is nice and flat before refrigerating. This way, the cutting later will be more even. You can also transfer the mochi into a large plastic freezer bag and use a rolling pin to roll the dough out into a large rectangular slab. Refrigerate for about an hour or two to harden before slicing. If the mochi is still quite sticky while you are slicing it, you can refrigerate the mochi awhile longer try using an oiled knife to cut it.
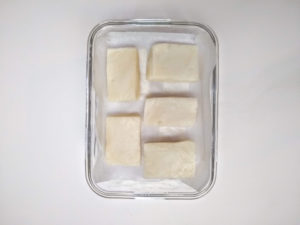
Dry the Kirimochi
Space the cut mochi out in a container, cover lightly, and refrigerate for one to two days to let the mochi harden. The time it takes to let the kirimochi dry depends on how powerful your microwave is; a more powerful microwave leads to a drier dough and longer drying time. Once done drying, you can use the kirimochi right away or individually wrap the mochi and freeze it for later use.